


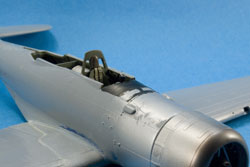
Been noticing it late during building stages, but fuselage is badly warped. Cockpit floors and framing are a tad too wide hence a real fight for closing the fuselage. Cure : fuselage halves are tacked on a board and , very carefully, hot water is poured on the stress point. Cockpit paintitng did suffer a little, but it was easily fixed.

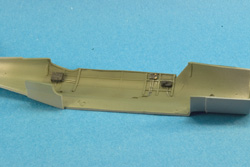

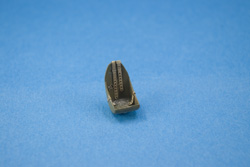
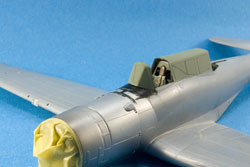
Cockpit is quite well detailed and as documentation is sparse, not to say inexistant, you just have to trust Special Hobby. Xtracylics interior green used here, with a wash of sepia artist oil and several shdes of Tamiya pigments.

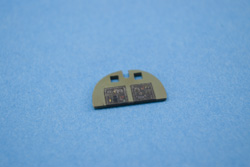

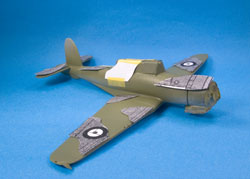
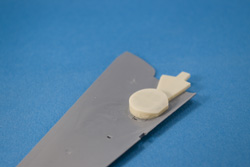
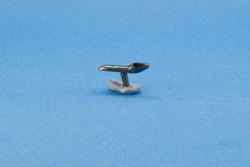
Special Hobby did simply forget to represent the gunsight, which is really present on the Skua, being formed of a framed sun screen occupying the center windshield plate, alongwith a Spitfire type gunsight, with round reflector glazing. The framing was made out of ectched sprue, while the glazing is coming from a pasta packing ! (grazie, Panzani!). The round reflector glazing (not shown here) was made out of a Gilette razor blister, using Punch & Die.


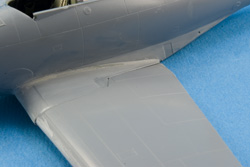
Now, call it sporty ! Even with the fuselage straightened, the various floors and framing sanded, fuselage refused to join tightly. I had to add Evergreen stripes in all the seams to ensure strong gluing. Moreover, the fuselages halves are somewhat misaligned, which means that if you want to achieve cockpit's ends correctly matched, the tail area is displaying some seams to fill. Thanks to Mister Light currying putty from Tamiya (and to several sanding sessions), this was solved.


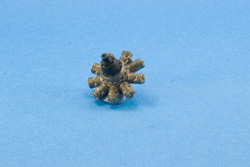
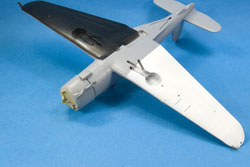
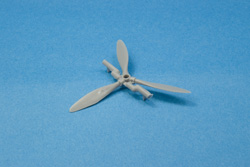
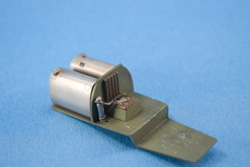
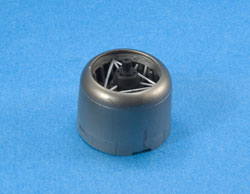
Engine is resin cast, with separated cylinders.
The gas collector ring is injected plastic, while the gas lines are resin.
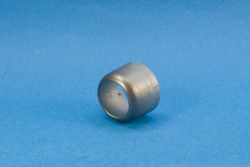
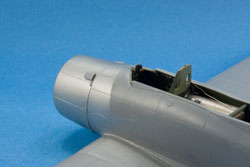
The engine cowling is a two halves affair and just required a small amount
of putty. It was first coated with AS-12 Tamiya spray can and then sprayed
Alclad Dark Aluminium and a light veil of Alclad pale burnt metal. A wash
of dark grey followed. Prop reducer was painted black, with boltheads
dry-brushed dark grey. Exhaust was hollowed, again a coat of AS-12 and
the same alclad treatment, with addition of Humbrol buffable gun metal
and a few veils of highly diluted tamiya transluscent blue.
Engine cowling was also primed with AS-12 and the front ring treated with
Alclad Steel, a veill of copper and toned down with Alclad Duralumin.
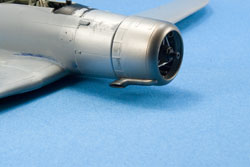
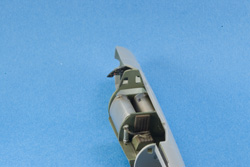
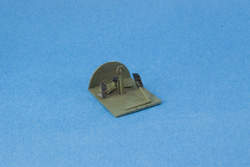
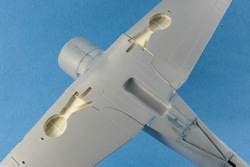
The sun pretection of the gunsight is on. Engine almost complete just need the Venturies to be added. Triangle needs to have it's arms trimed to be correctly centered. And the engine + cowl in place. CA glued, plus Tamiya 2 components expoxy on the left, since that part is not level with the right one ... At least, it makes for a strong joint .
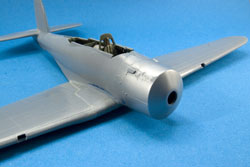
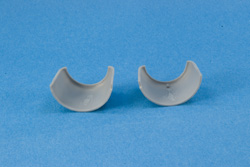
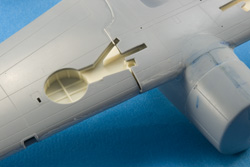
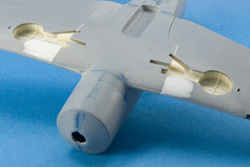
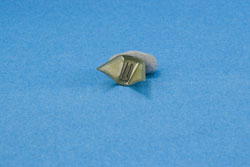
When it's not working in the beginning ... Then engine scoop are supposed to be two in the kit; well, mine had only one; I redid one in scratch (on the right).
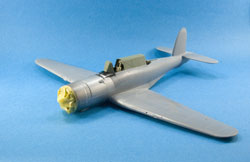
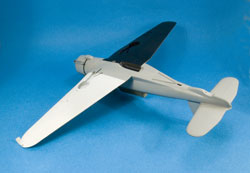
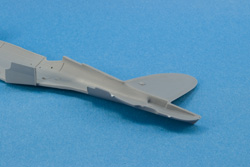
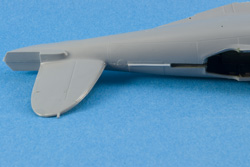
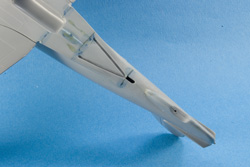
One quick overall view, with the glazing on; nothing here except a small sean t the windshield. Esay, for once.
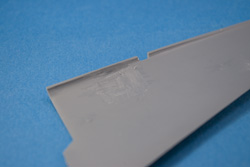
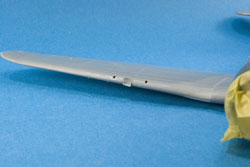
Hence, a piece of clear sprue is glued in place and sanded to shape. Idem for the position lights at wingtips. The wingfold handles were drilled,too. Soon, the painting ....